

Using a diffuser
While close up photography can be one of the more difficult types of outdoor shooting--you've got depth of field challenges, quality challenges due to the higher magnifications, and the fact that you often have to be a contortionist just to get yourself and your camera close to your subject--lighting for close ups is often one of the things that is not only the most controllable, but one of the easiest things to do. And you only need a relatively inexpensive accessory: the diffuser.
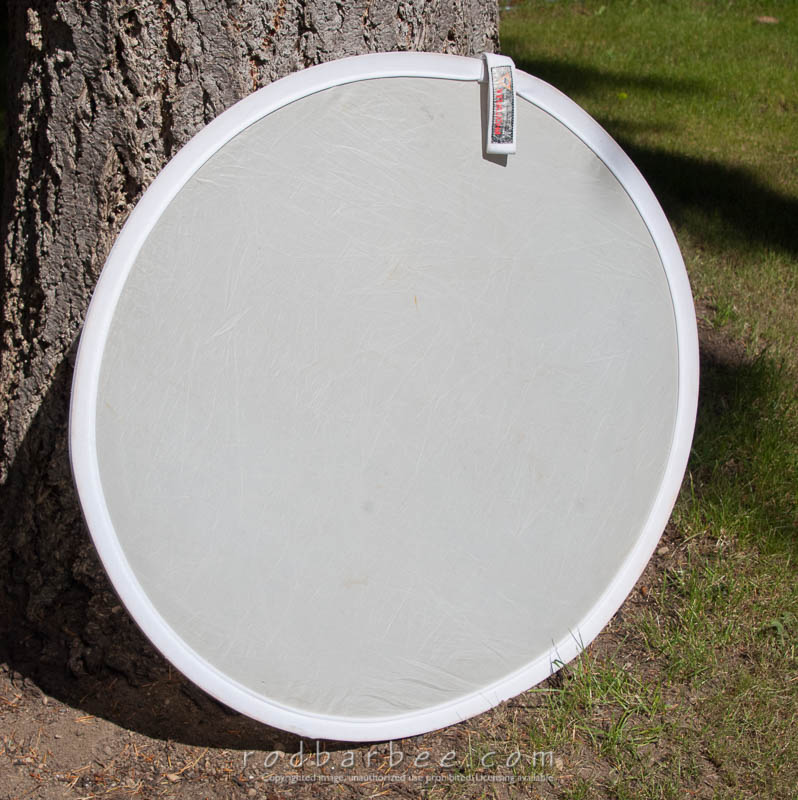 A diffuser is nothing but a piece of translucent white nylon cloth. You can simply go buy the material and try to hold it in place while you work, but the easiest and most effective choice is to buy a diffuser specifically made for photography. These are nylon cloth mounted on a round hoop and are widely available at any well stocked photo store or from one of the online stores like B&H Photo.
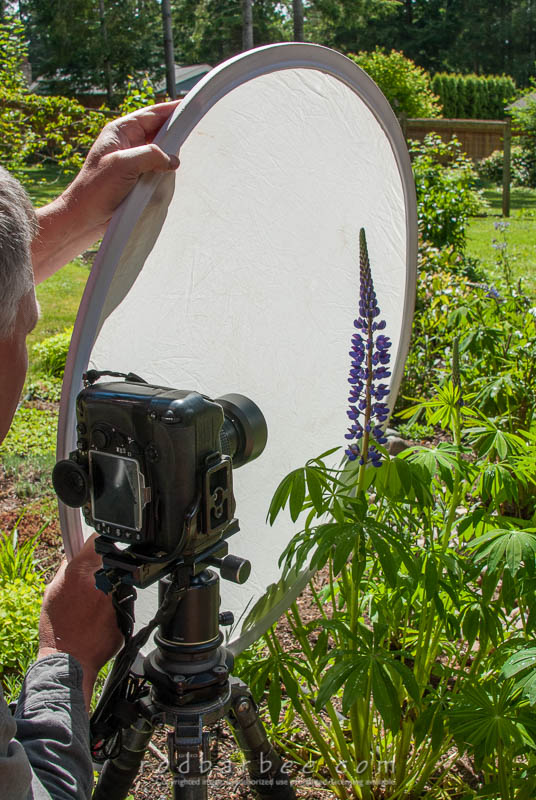
So why would you need one and how do you use it? The why gets to be pretty obvious when you try to do close up photography on a sunny day: contrast. You'll have brightly lit areas fighting with shadows, resulting in a visual jumble of dark and light. Not pretty.
The way you use the diffuser is to place it between the sun and your subject. But it's not that simple. The closer you bring the diffuser to your subject, the better the light gets. So the idea is to get the diffuser as close as possible without getting it in the picture. It's not hard at all and only takes a little practice before you become an expert. Just keep an eye on your backgrounds as well (here's where your depth of field preview button will be valuable).
Diffusers come in varying sizes, but I think the minimum useful size is the 32" diameter size. Any smaller than that and it's hard to cover the whole subject and immediate background. Larger diffusers are really nice to have but they can become unwieldy, especially if there's a breeze. Expect to pay around $42.
In the pictures below, the first image was made without a diffuser. You can see the blown out areas at the top of many of the blossoms, mainly on the left. With the diffuser, all those blown out highlights are gone and the lupine is evenly lit throughout. Note that the background remains the same.
Nikon D300, 105mm macro lens, f/11 at 1/50 second for both.


Using a diffuser to soften the light on these lupine.