I’ve written about hyperfocal focusing before, here and here.
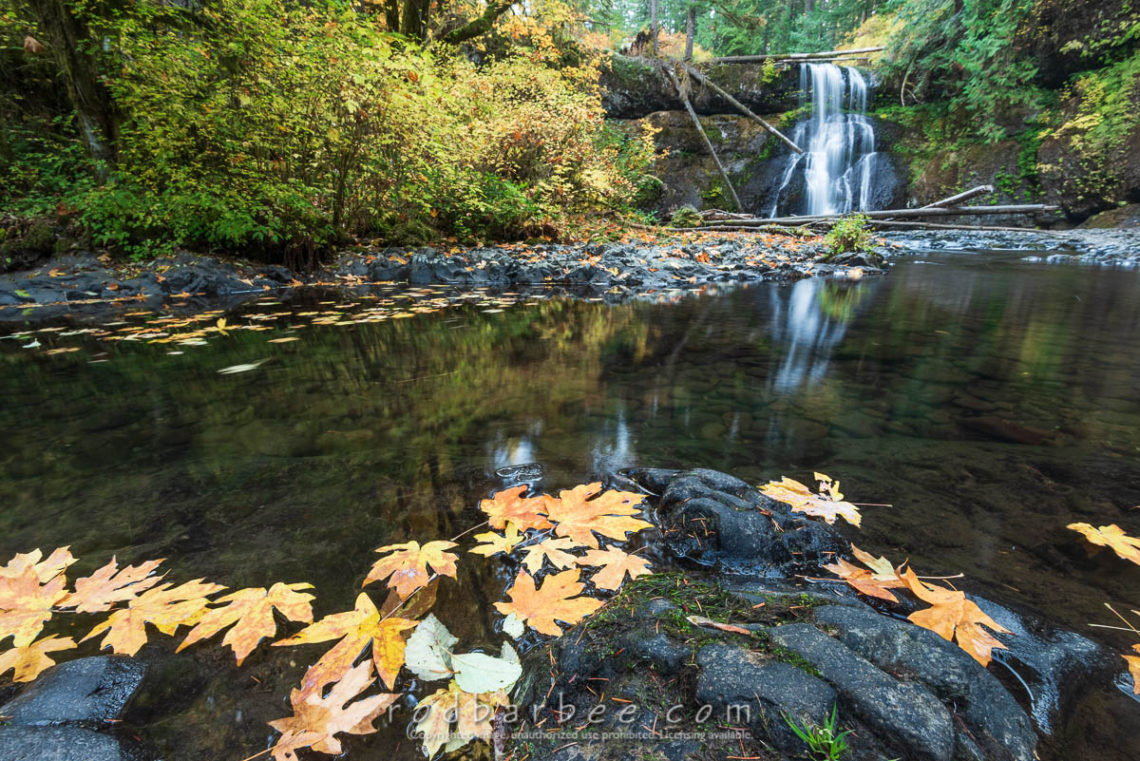
Briefly, hyperfocal focusing is a technique used in wide angle landscape photography to maximize the apparent focus from the closest object in the foreground to the most distant. Using a high f-stop number like f/16 or f/22, focus at a specific point (determined by a number of factors including focal length, f-stop, and sensor size) and the depth of field for an acceptably sharp image extends from half that point to infinity. That “half that point” distance determines how far away you must place your camera’s focal plane from the nearest object you want to have in focus.
As an example, the hyperfocal point for a 24mm lens at f/22 on a full-frame camera is about three feet. That means you focus the lens at three feet and place your camera so that the focal plane of the camera is no closer than about 18 inches from the nearest object in the frame.
I’ve done this thousands of times so using hyperfocal focusing is something that doesn’t freak me out. But if you’ve never done it before, it can sometimes be hard to wrap your head around it.
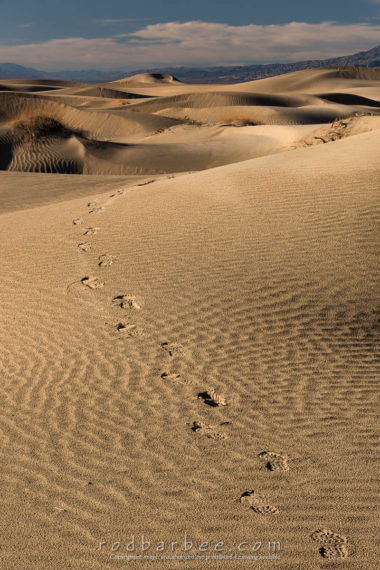
This can work quite well depending on the quality of the lens and the quality of your technique. Back in the film days I was shooting 35mm Velvia 50 slide film and used this technique a lot. I would have prints up to 16 x 24 and 20 x 30 made from these slides and display them at art fairs. People would look at these and ask what 4×5 or medium format camera I was using, the images were that sharp.
But what happens when you want a dynamic composition with a foreground much closer than the hyperfocal math will allow? Or you’re using a longer lens and the hyperfocal math won’t work out at all in a given situation. You have two choices. Change your composition to place your foreground far enough away or change your focus to ensure that the foreground object will be in focus.
The trade-offs are that for the first option, you don’t get the composition you had envisioned. And for second option, you run a very good chance that objects in the background will now be out of focus.
These were the trade-offs we lived with in film days.
But now, with digital cameras and advances in image editing software, you can get that foreground you wanted and have the background in sharp focus. And to top it off, you can do this at wider apertures, which means faster shutter speeds than you’d normally need for shots taken at f/22. This helps if you have a foreground that’s susceptible to the wind.
Plus you don’t have to do any math or focus your camera at a vague space in, well…space and then place your camera at half the distance of that focus point, chant strange chants, spin three times…
No, you can use focus stacking.
Focus stacking is a technique where you create a series of images identical in all ways except for the place where the lens is focused. Then, in Photoshop or your preferred image editing software, you assemble these images into one image that’s focused from front to back.
In the past I’ve either used the viewfinder and moved autofocus points or just focused manually for each image, or I’ve used live preview to zoom into a spot and autofocus. Then move the spot for the next image, and so on. This works quit well.
Focus stacking has come a long way and today’s cameras make it even easier to do.
Some newer cameras come with a feature to automatically take a series of images focused at different points. In Nikon cameras it’s called Focus Shift Shooting.
You need to be in autofocus mode for this. Set up your composition and focus on the nearest object, go to the Focus Shift Shooting section of the menu, make your settings and select Start. A few seconds later, the camera starts taking pictures, changing focus between each, until all the pictures are taken.
To keep your focus stacking images segregated from the other pictures you’ve been shooting, take a picture of your hand before and after the sequence. Nikon cameras with the Focus Shift feature have an option to place the images in their own folder. This might be handier than the hand.
At the computer, look closely at the pictures, especially the ones focused at a distance. Often the end of the series will be focused at infinity, which may actually put the far objects out of focus. So pick out only the pictures you need stack those.
Here’s the workflow I use in Lightroom and Photoshop:
- Import images to Lightroom and choose the ones to use.
- Do any necessary global adjustments like spot removal, rotation, etc. and apply it to all images.
- Select the images you want to stack.
- Right-click and choose Edit In… > Open as Layers in Photoshop.
- In Photoshop, once all the images have loaded, select all layers.
- Go to Edit > Auto-Align Layers… and choose Auto (this may take a while)
- With all layers still selected, go to Edit > Auto-Blend Layers… and choose Stack Images.
Afterwards you’ll likely need to crop in a bit on all sides. Also inspect the final image throughout to see if there are any anomalies. If they are, you can try editing the layer masks that were created in the process, though this can often get confusing.
One alternative to Photoshop is Zerene Stacker, which is a dedicated stacking program. It has more features including the ability to paint from one image to another. If you really get into the focus stacking game, you’ll want to look into Zerene Stacker of one of the other programs like Helicon Focus.
If your camera does not have a focus shift feature but it does have wi-fi, then checkout Helicon Remote for tethered shooting.
I’ve not used Helicon products, I just mention them here as an option.
So what technique to I use now? That depends. Sometimes I can get all I need in one shot using hyperfocal focusing. And in rapidly changing light, this may be the only way to capture what I want. And there are some scenes containing moving objects that might make focus stacking harder.
But more and more I’m looking for opportunities to take advantage of the technology we have available to us to make even better images. Focus stacking is one I’m using more and more.